When we provide video training for clients we’re often asked for advice about what equipment to invest in. Our starting point is always to find out what sort of videos are required – often short interview bites or film video loops for social media – and what the budgetary constraints are – often as little as possible!
Budget: What budget?
So what to do if you want to start small? Pretty much every smartphone will record decent video, and with a few add-ons you can improve your production values significantly. The first and most important thing to think about is audio. If you’ve got clear audio your audience will forgive you for not having enormously sophisticated visuals – but if your sound is no good even the prettiest of pictures will fall flat.
If you want to do simple interviews you should get a clip mic. Also known as lavaliers, you’ll have seen these microphones on TV presenters. You clip them to an appropriate piece of clothing and because they’re so close to the source of the sound they cut down background noise when compared to your smartphone’s built-in microphones.
Smartphone clip mics

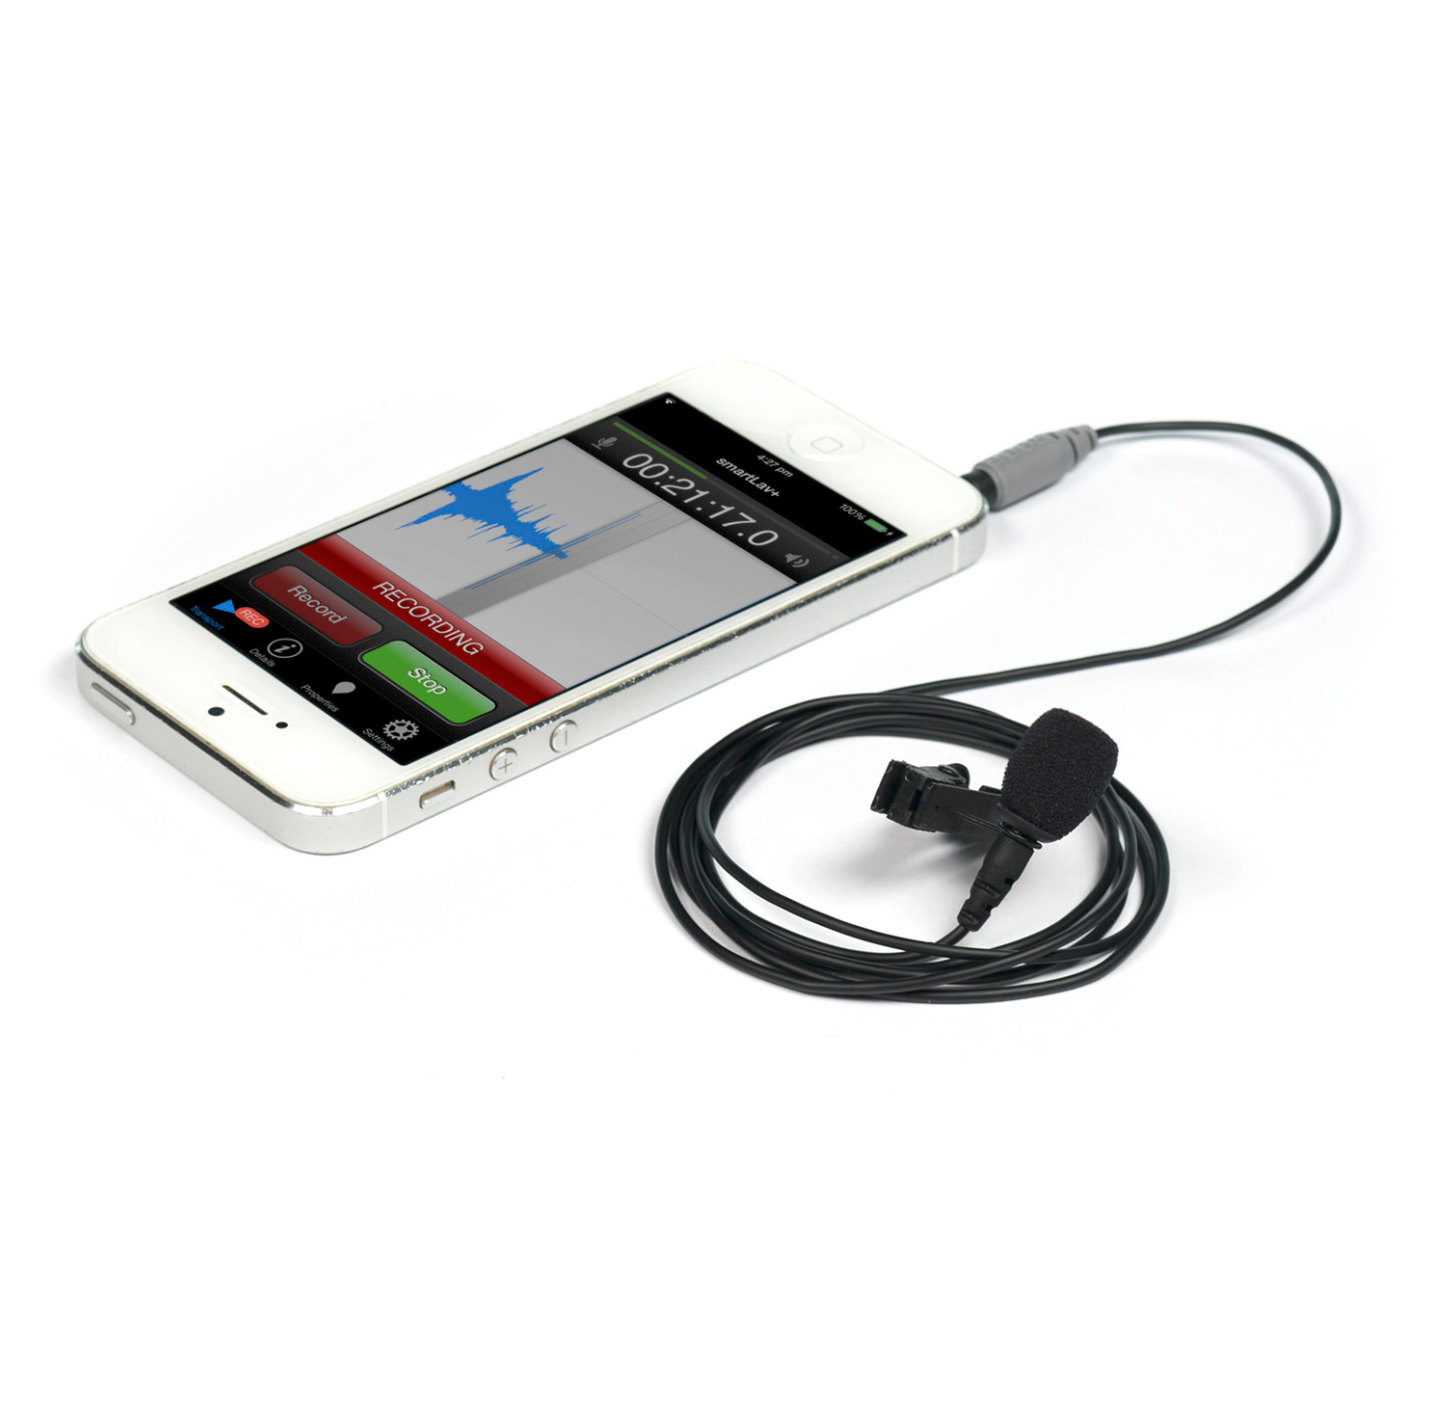
If your smartphone has a 3.5mm audio jack you should get a Rode SmartLav+ and an extension cable to allow you to step away from your subject.
Apple have removed the audio jacks from their most recent iPhones. If you have one of these models (an iPhone 7 or later) you’ll need a mic like this one that will connect to Apple’s proprietary Lightning socket.
Steady your shot with a tripod
The next item on your list should be a tripod. It might seem like overkill to stabilise a smartphone, but a steady shot will instantly make your videos easier to watch. Inducing motion sickness in your viewers shouldn’t be a KPI for your video strategy.
If you’re in it for the long haul you could get something like this from Manfrotto. It’s an entry-level video tripod but you’ll be able to use it for years. Otherwise Amazon have a range of options that start from around £15.
You’ll also need a way of attaching your phone to the tripod. Try something like the Glif, an extremely simple mounting system compatible with a wide range of devices.
That’s enough retail therapy for now
Right now you should stop spending money and go and shoot something – have a play with the tripod and use it to get a variety of shots, and get into the habit of using the mic for your interviews.
Going further
Assuming your first attempts at video have gone well, you might want to go further: more elaborate filming, better-looking interviews, more regular content.

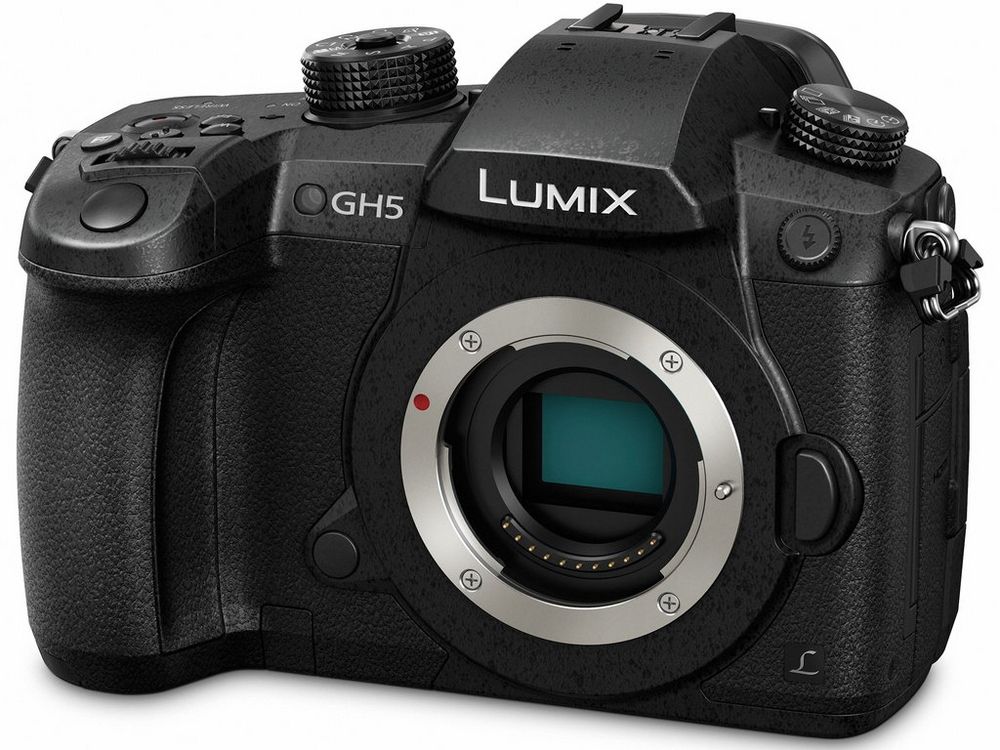
A good step up would be a camera like Panasonic’s GH5. It’s still reasonably compact but shoots good quality video in resolutions up to 4K. A package that includes a lens will cost around £2,000. You’ll also need a couple of SD memory cards, an extra battery and a hard drive to back your footage up onto.

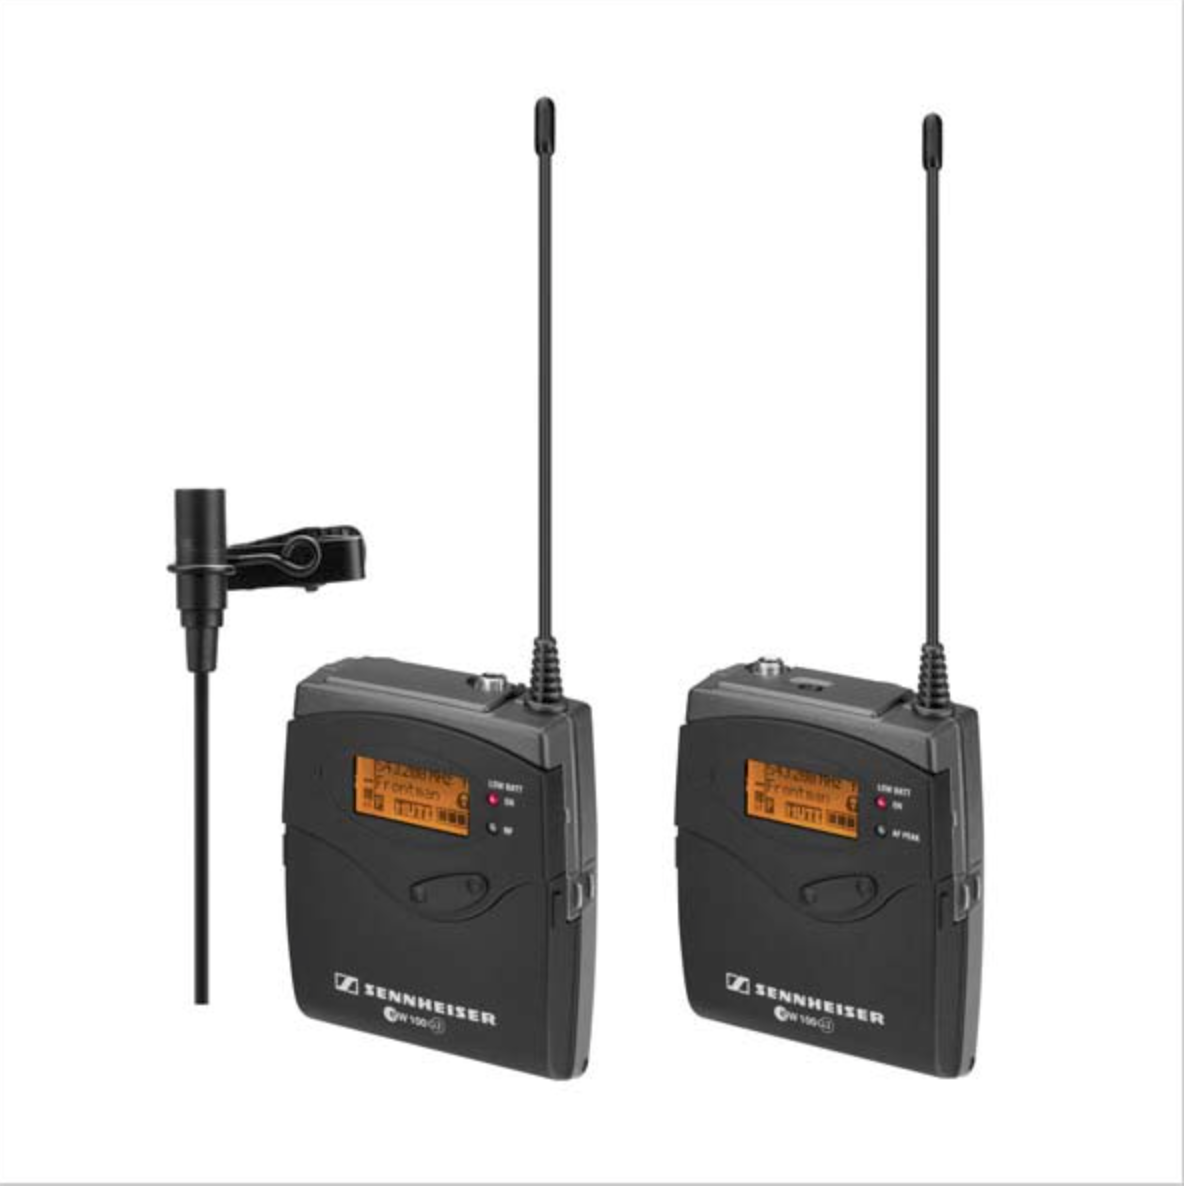
You can get some more mileage from the tripod you were using with your smartphone, but the microphones won’t transfer across, sadly. We’d recommend getting a wireless set like the Sennheiser G3. This has a transmitter you clip onto your interviewee and a receiver that will plug straight into the GH5 and give you great interview audio. You should also buy a set of headphones so you can listen to the sound while you’re recording it.
Next steps: Lighting
To raise your production values again you should get some lighting to avoid the horror of shooting interviews in overhead fluorescent lighting. Just look at photographer and DoP Jon Roemer’s post here for a striking before and after shot that shows why it’s a good idea to light interviews!
A standard interview lighting setup has three lights: a main (key) light, a secondary (fill) light and a backlight to help separate your subject from the background. Start off with one light, experiment with it and build your kit as your confidence grows.
F&V make well-regarded, reasonably priced kit. The R300 is a ring-shaped fixture that will produce a nice catchlight in your subjects’ eyes. Remember to also buy a stand and a power supply.
Next steps: Background
If you’re going to be shooting in your office you should also think about getting a paper backdrop. Grey looks classy, and brighter colours, like the yellow we used below, will make your videos pop.

You can buy supports for the whole roll, or you could just cut it to size and tape it to a wall. You’ll need to supply your own wall.
Ready to roll
Now find a suitable spot – ideally away from loud air conditioning vents and the coffee machine. Tape your backdrop to the wall, set up your light and find a willing victim – er, interviewee – with something to say.
And if you find you need help with any aspect of your content marketing, from training to video production, do get in touch!